
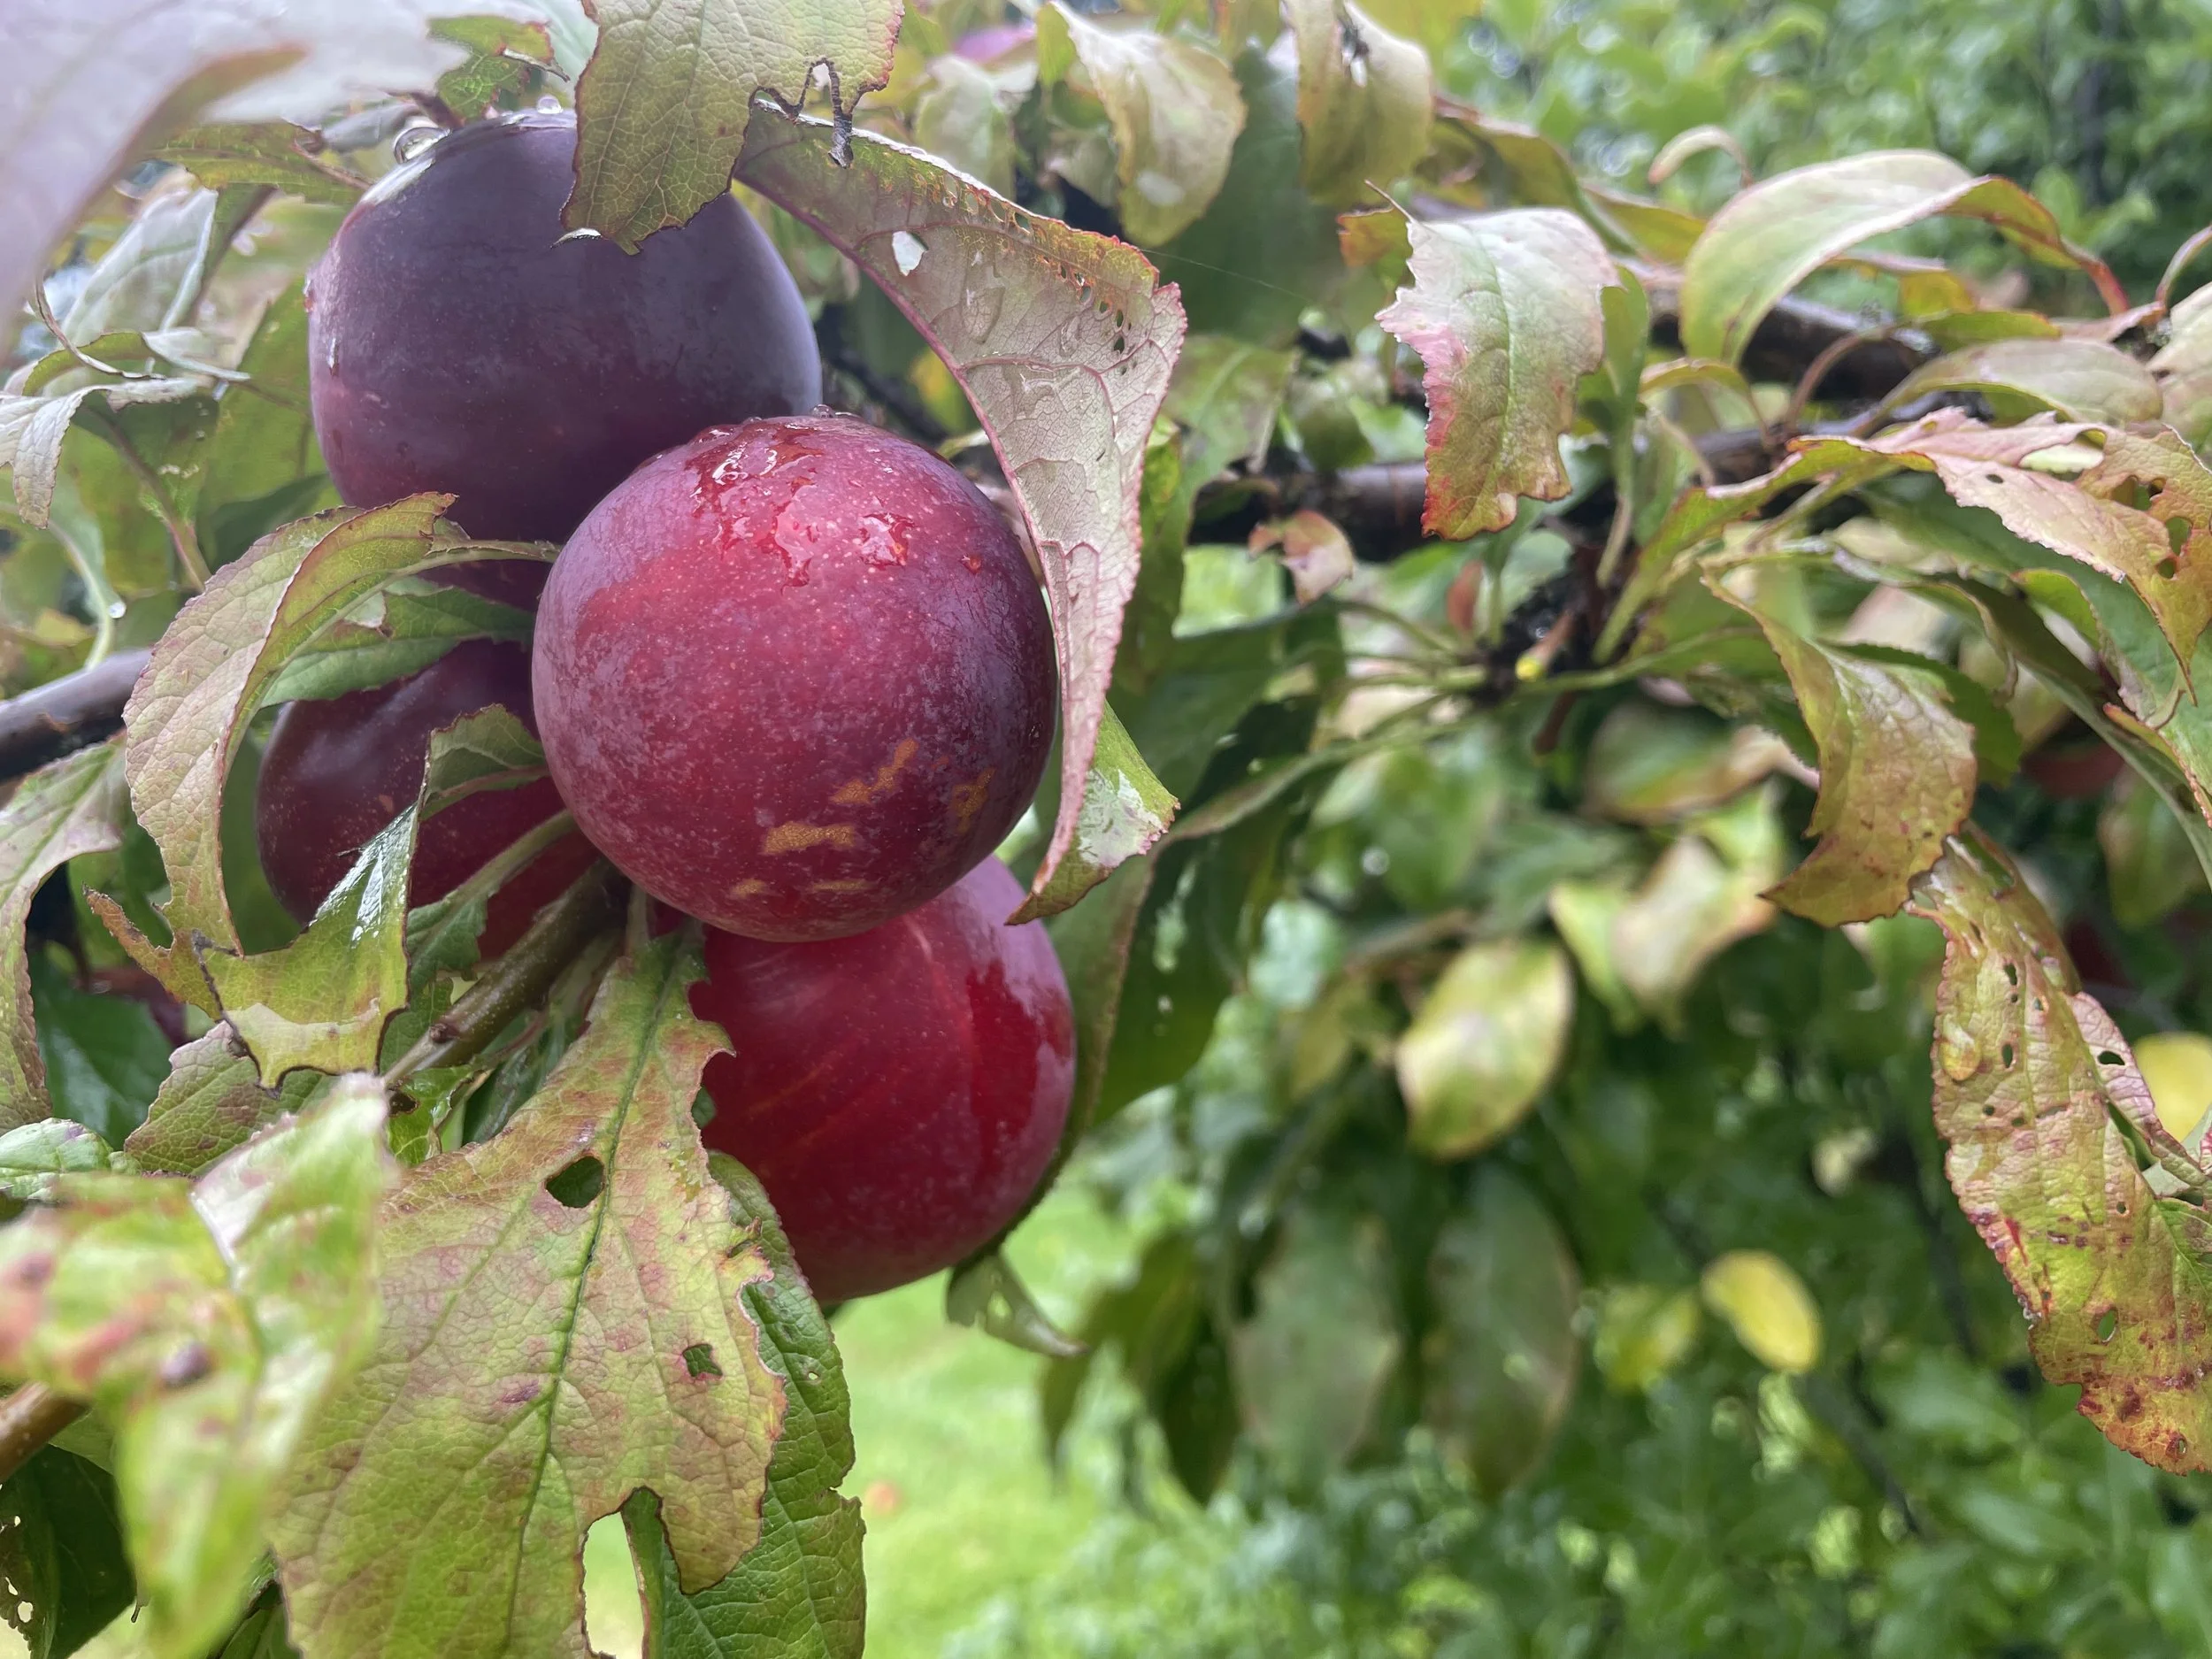
A plummy time of year: Preserving our produce.
I used to think you could never have too many plums but now that some of the trees we planted 10 years ago are maturing, I’m not so sure! My reasoning was that you could make a lot of preserves with them, plum jam and plum sauce being the two main ones. Or you could eat them fresh, stewed, with breakfast etc. Yes you can do all that and thank goodness for the freezer, because if you’re not ready to make jam just now, then pop them straight into the freezer and use them when you need to later on in the winter

Marmalade
I sometimes feel a little smug after I have managed to get my elderflower cordial made and my sparkling elderflower bottled and brewing away in the shed. I post about it and then my friend Shelley will comment that she has made hers as well but she has also MADE MARMALADE FROM THE LEFTOVER LEMONS. I’m talking about the lemons leftover from the elderflower brewing process. I know it’s not a competition but I definitely think if it was, she would win. Talk about resourceful!

Rhubarb Bubbly
Its not all about elderflowers this month (or you would be forgiven for thinking that if you are following my facebook page) For those of you who don’t have access to elderflowers, then why not try some rhubarb bubbly for Christmas? Most people have some rhubarb coming away in the garden and there’s only so much rhubarb crumble you can eat. So if you love the taste of rhubarb and want to show off your homesteading skills give this one a try. I have started creating pdfs of my recipes for you to download so you don’t have to you’re your phone open to read. Make sure you read all the notes in the blog as the recipe is just the ingredients and the method.
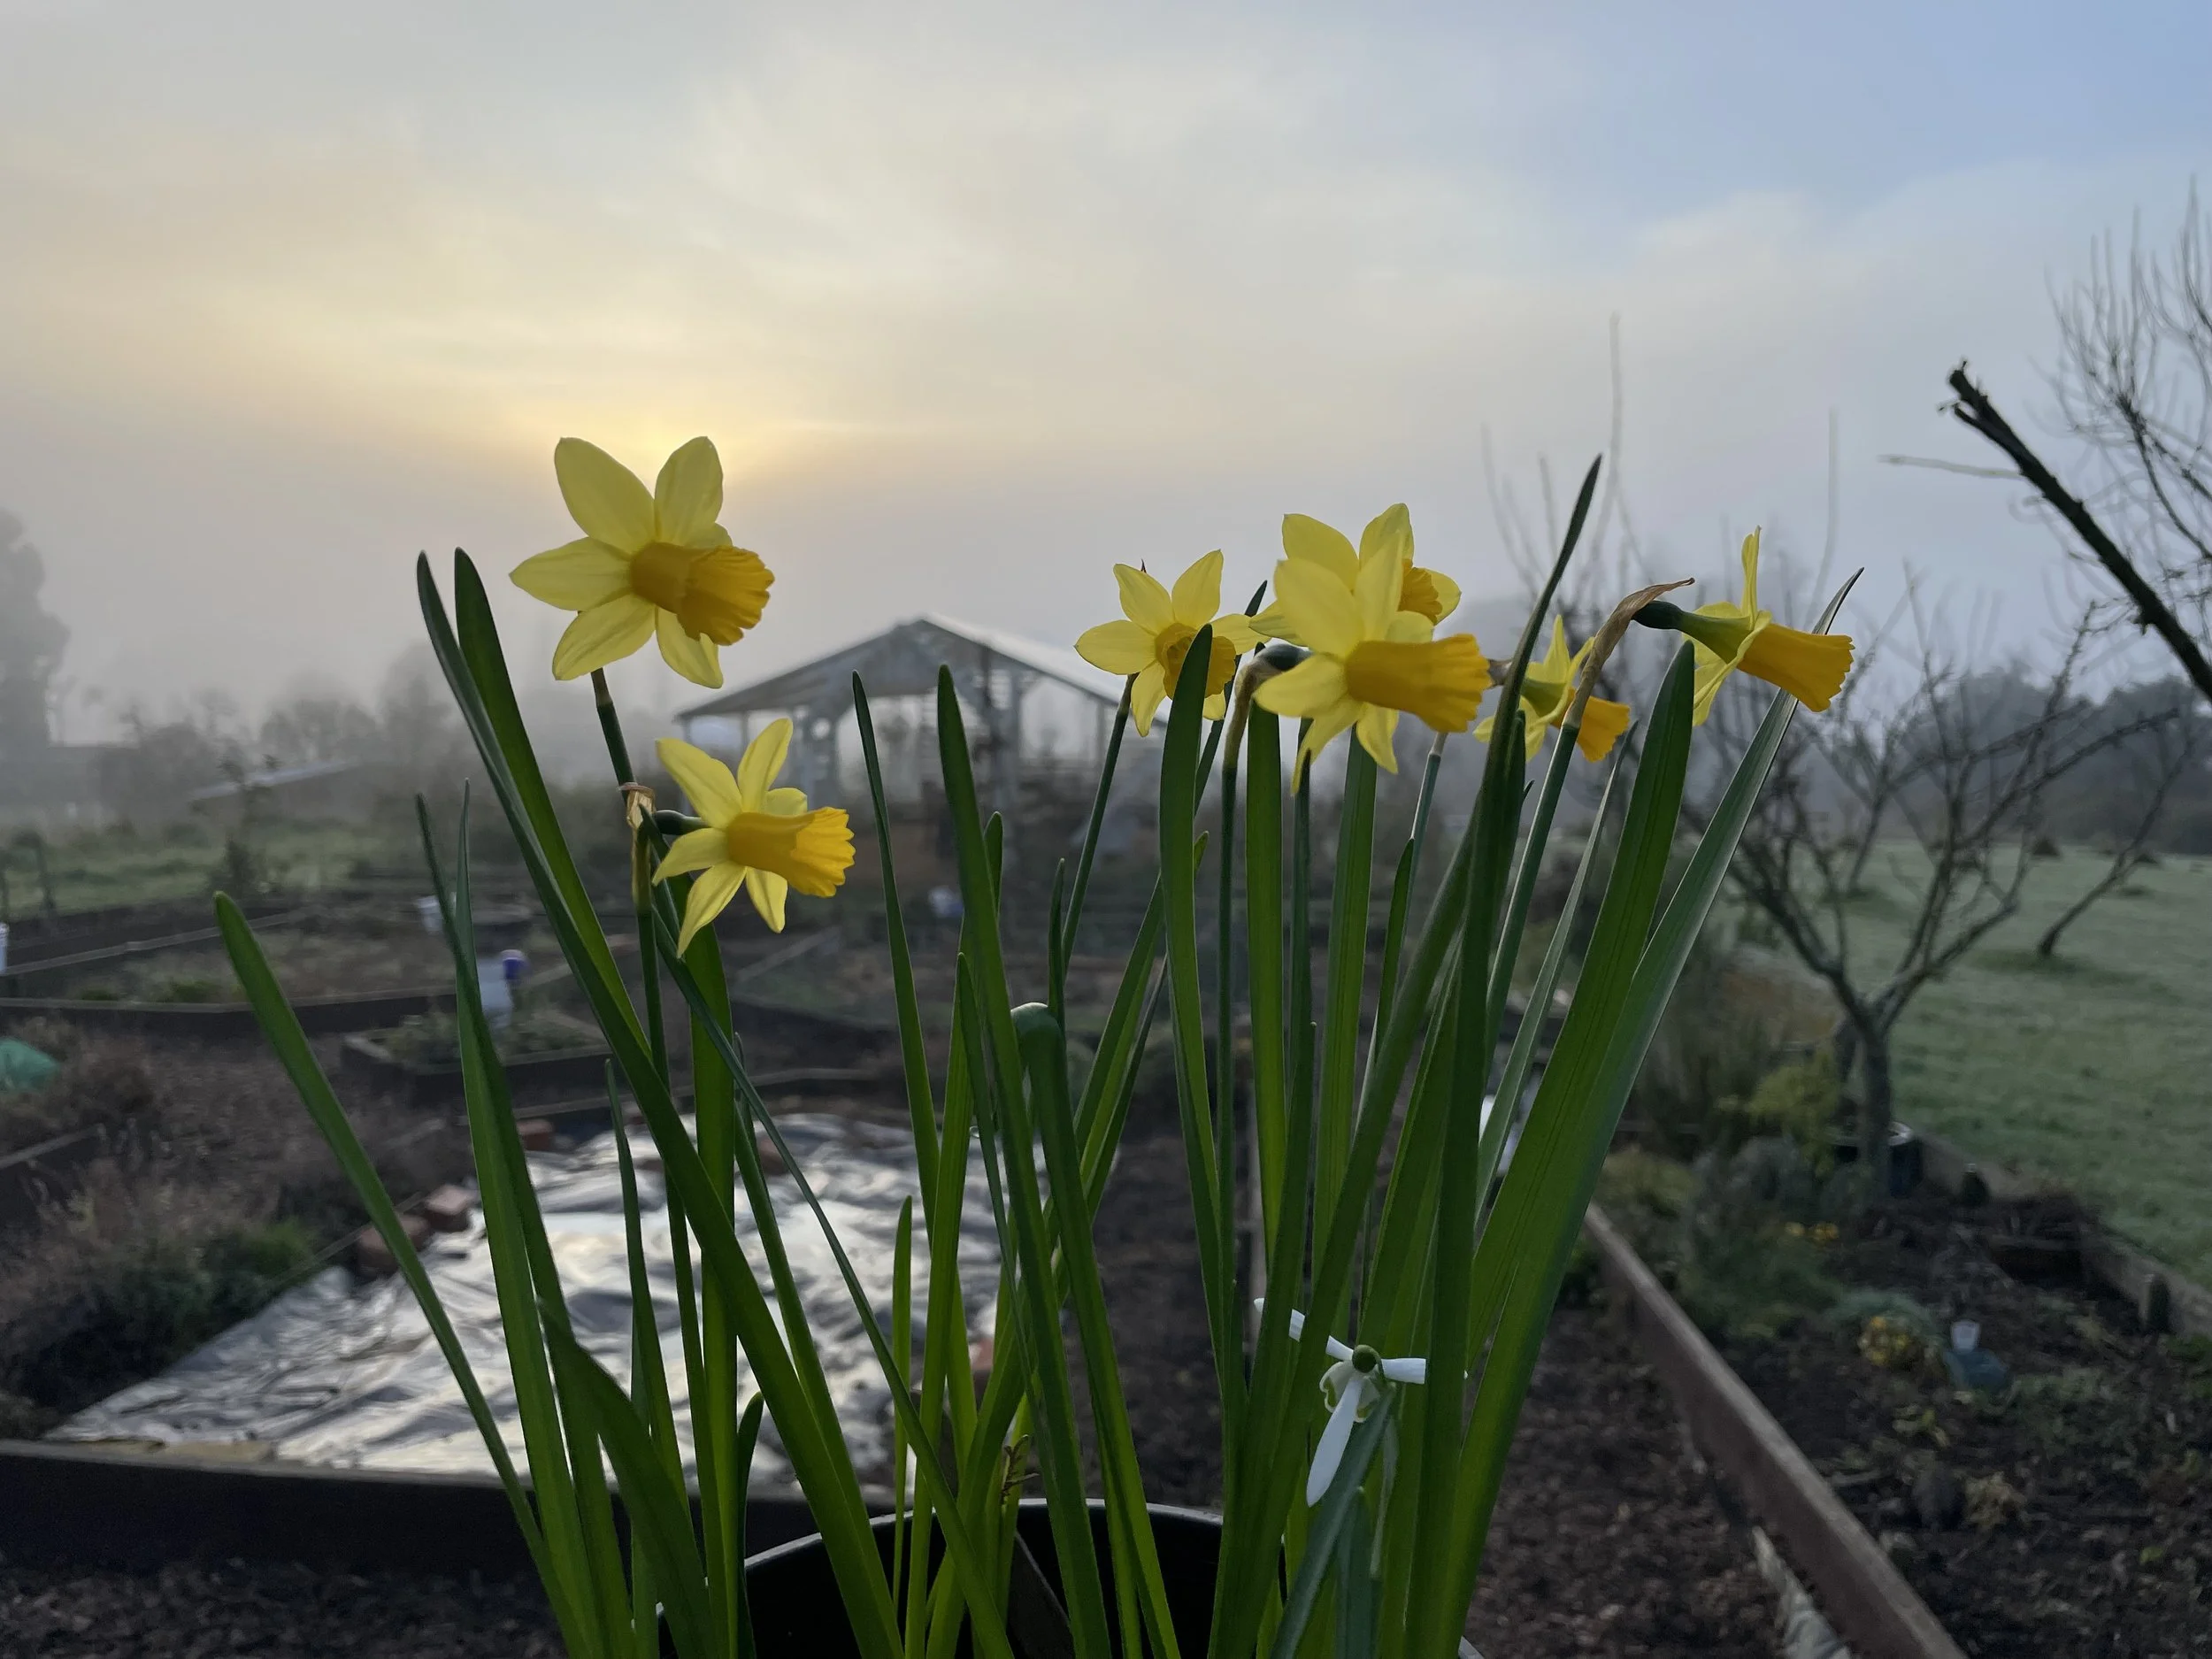
September in the Kitchen Garden
Well – finally – a glimpse of spring is in the air! The sap is starting to rise in the trees and the urge to grow, sow and plant is rising in the hearts of gardeners all over the country. It is still a little early for a lot of vegetable plants but there are some we can start off sowing indoors in the hope that we can get a headstart on nature and get some early crops. There will still be cold days and frosts but take advantage of the lovely days and at least make sure your beds are all ready for the new season of planting!

July:Planning Your New Season’s Vegetable Garden
Tips for getting started on planning your new season vegetable garden.

Christmas Spice Biscuits
Christmas is one of those times where everyone seems to loves tradition and that includes a lot of the treat foods you associate with your own childhood festivities. I still remember the year my clever and creative sister made a gingerbread house which took pride of place on the china cabinet. Mum always made the Edmonds cookbook Belgium Biscuits which we stuck together with homemade jam and had a lot of fun icing. I have done it with my own children and still do- even thought they are all grown up. The smell of the cookies baking definitely brings back good memories for me and I hope they do for you.