
Sourdough and Garlic on a Saturday Morning.
It’s Saturday morning and as I lay away early in the frosty dark I was thinking about what I was going to get up today. For a lot of us, the weekend it when we are mostly likely to get the chance to get into the garden for a couple of hours so keen to get out there myself. First thing will be to get a sourdough loaf started as it likes a good long rising period for all the good fermentation to take place so before too much gets done I’ll start that off. Some of you have kindly given me some good suggestions on how to get the best out of my culture so enjoying the opportunity to try out some different techniques.
Late Autumn in the Vegetable Garden. May.
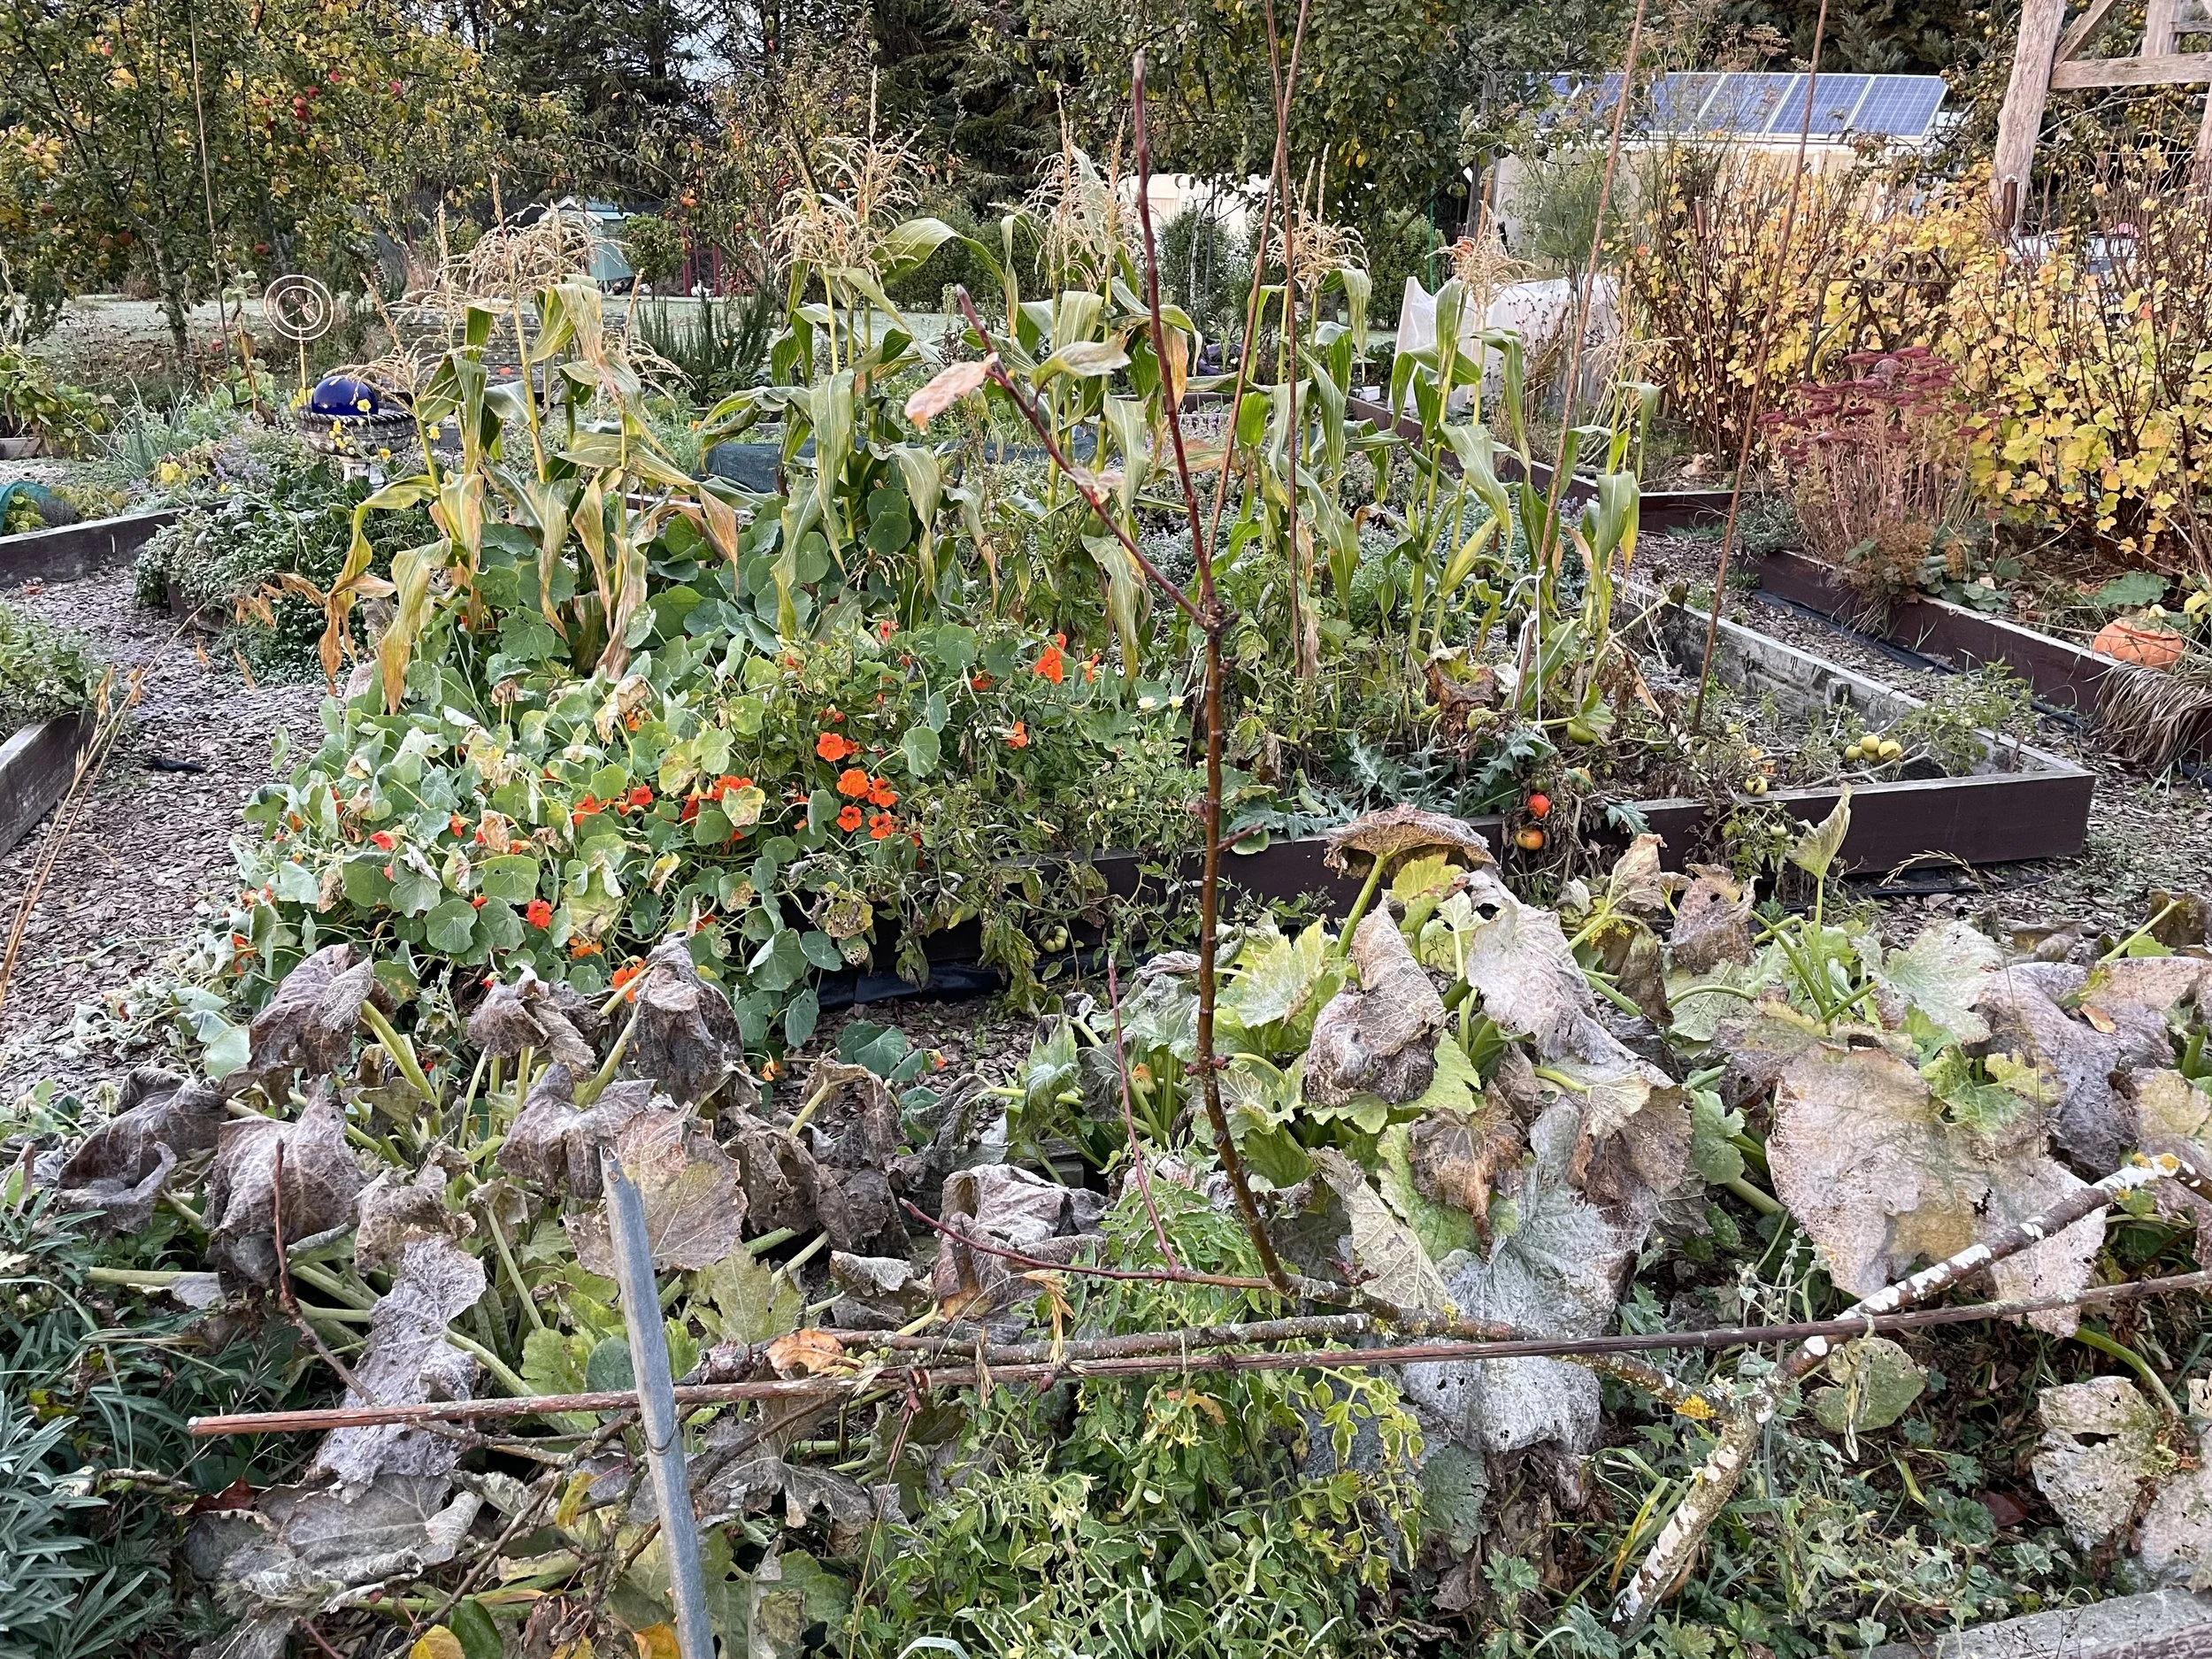
Well it feels like everything is still growing as I write this at the beginning of May. There has certainly been plenty of rain around the country - some of you in parts of New Zealand and Australia are getting more than your fair share! The lawnmower in the family has been complaining that he even the grass hasn’t let up.
Super Muesli (Freshly Made, One Bowl at a Time)
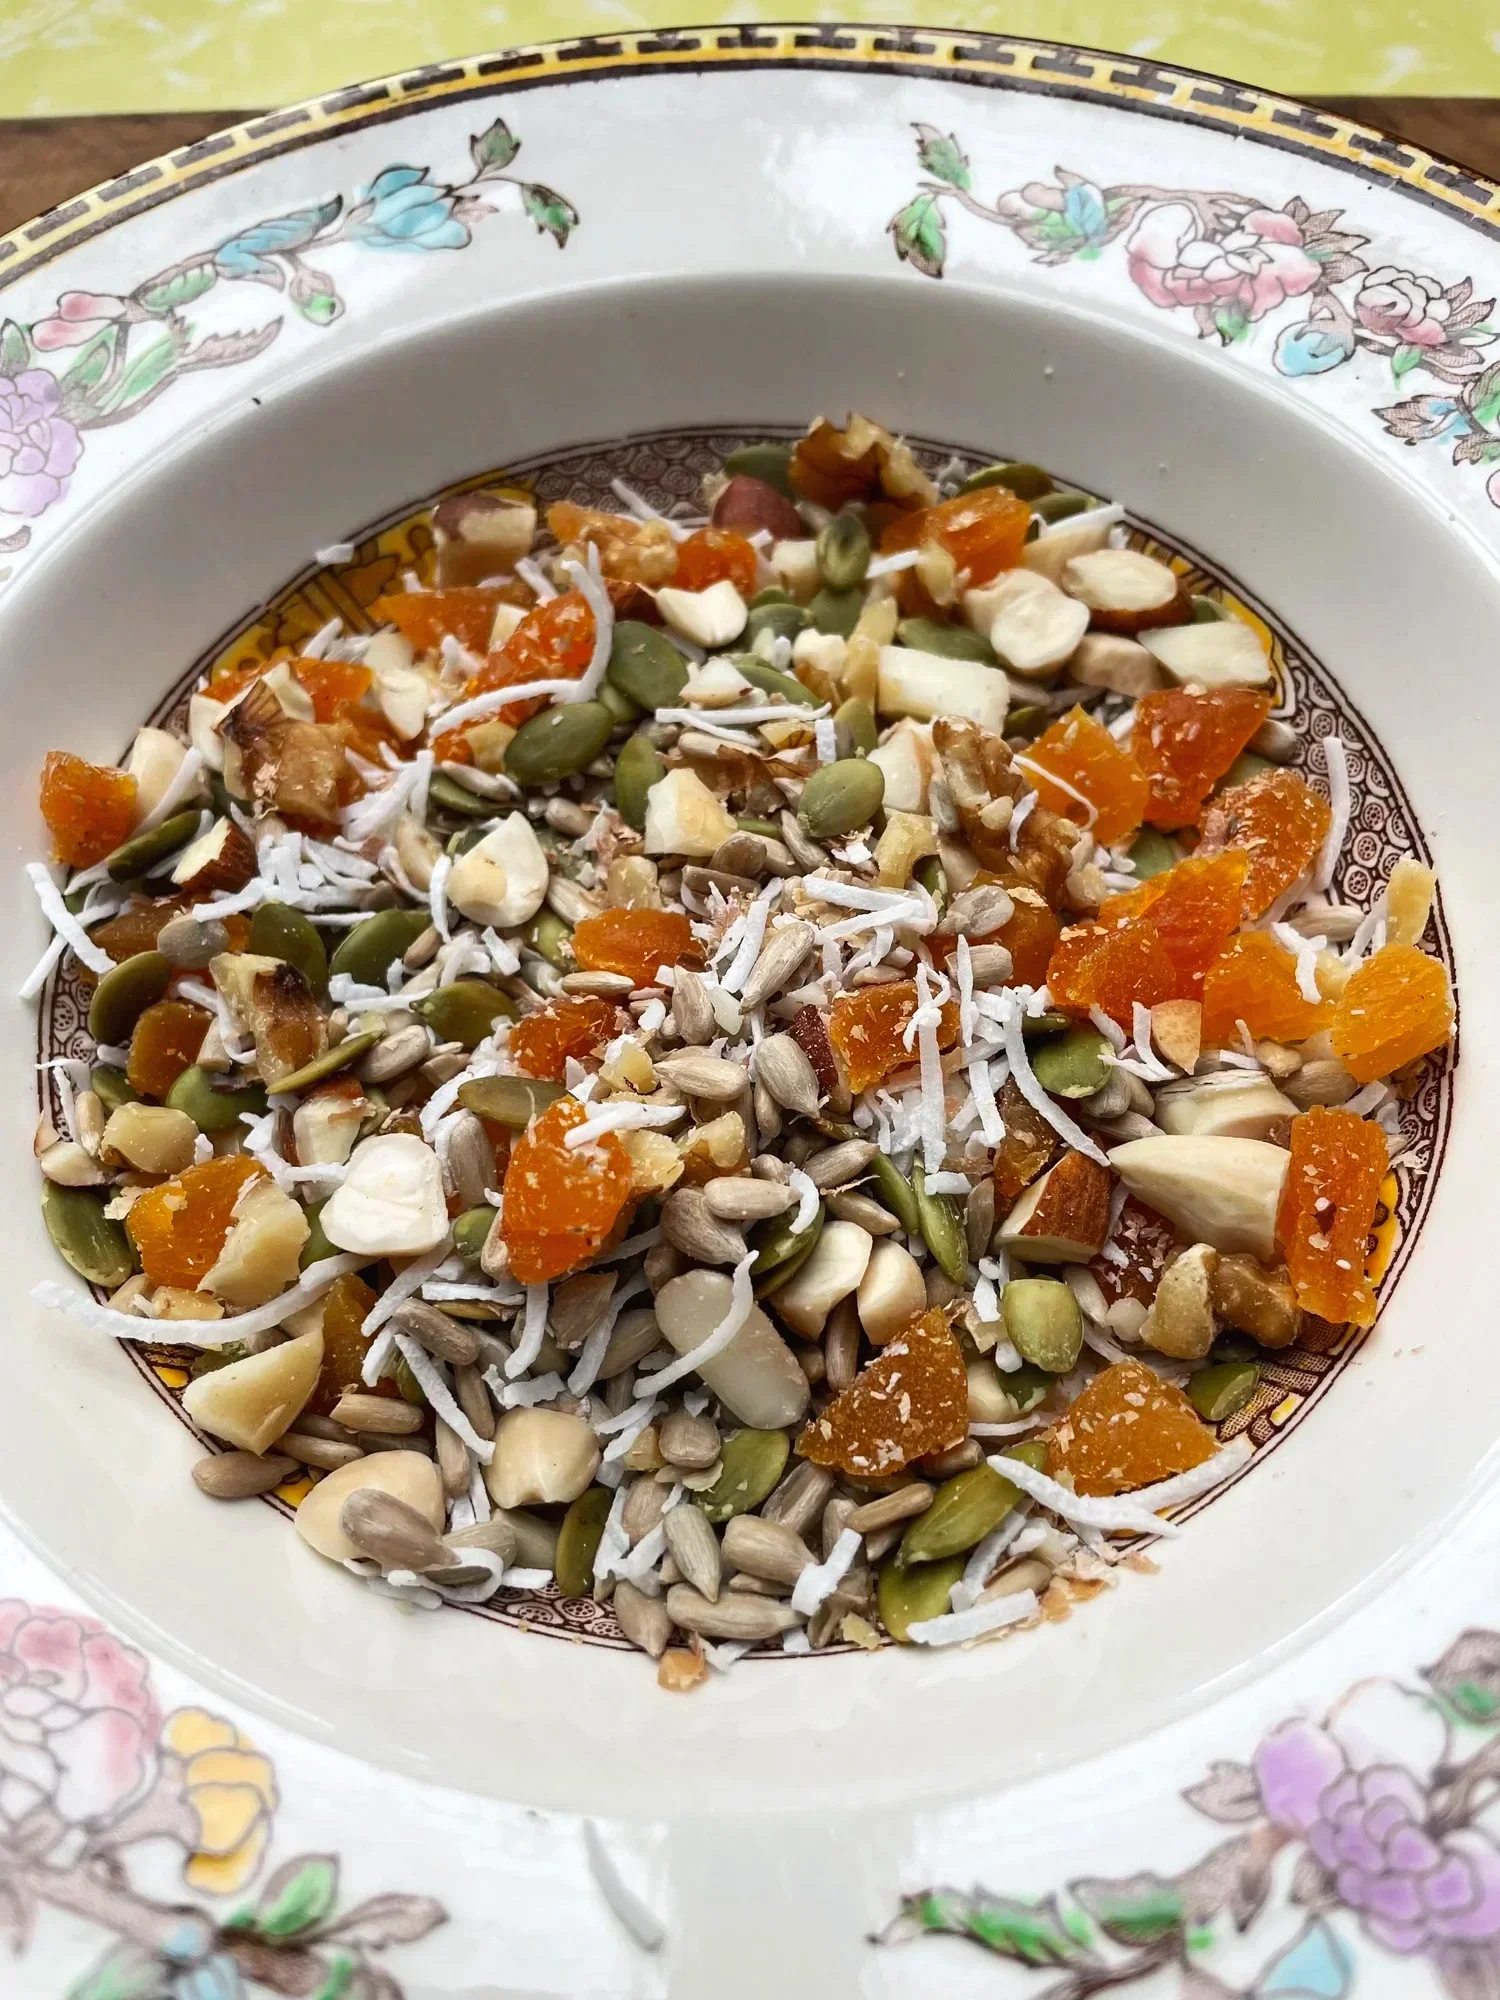
For those interested in health and wellbeing, or who follow the principles of the Tortoise Diet Method, this will feel familiar. I’m a big advocate of eating a wide variety of whole foods and making sure we get all the essential nutrients our bodies need — protein, fats, fibre, calcium, probiotics, trace elements — and plenty of deliciousness along the way.
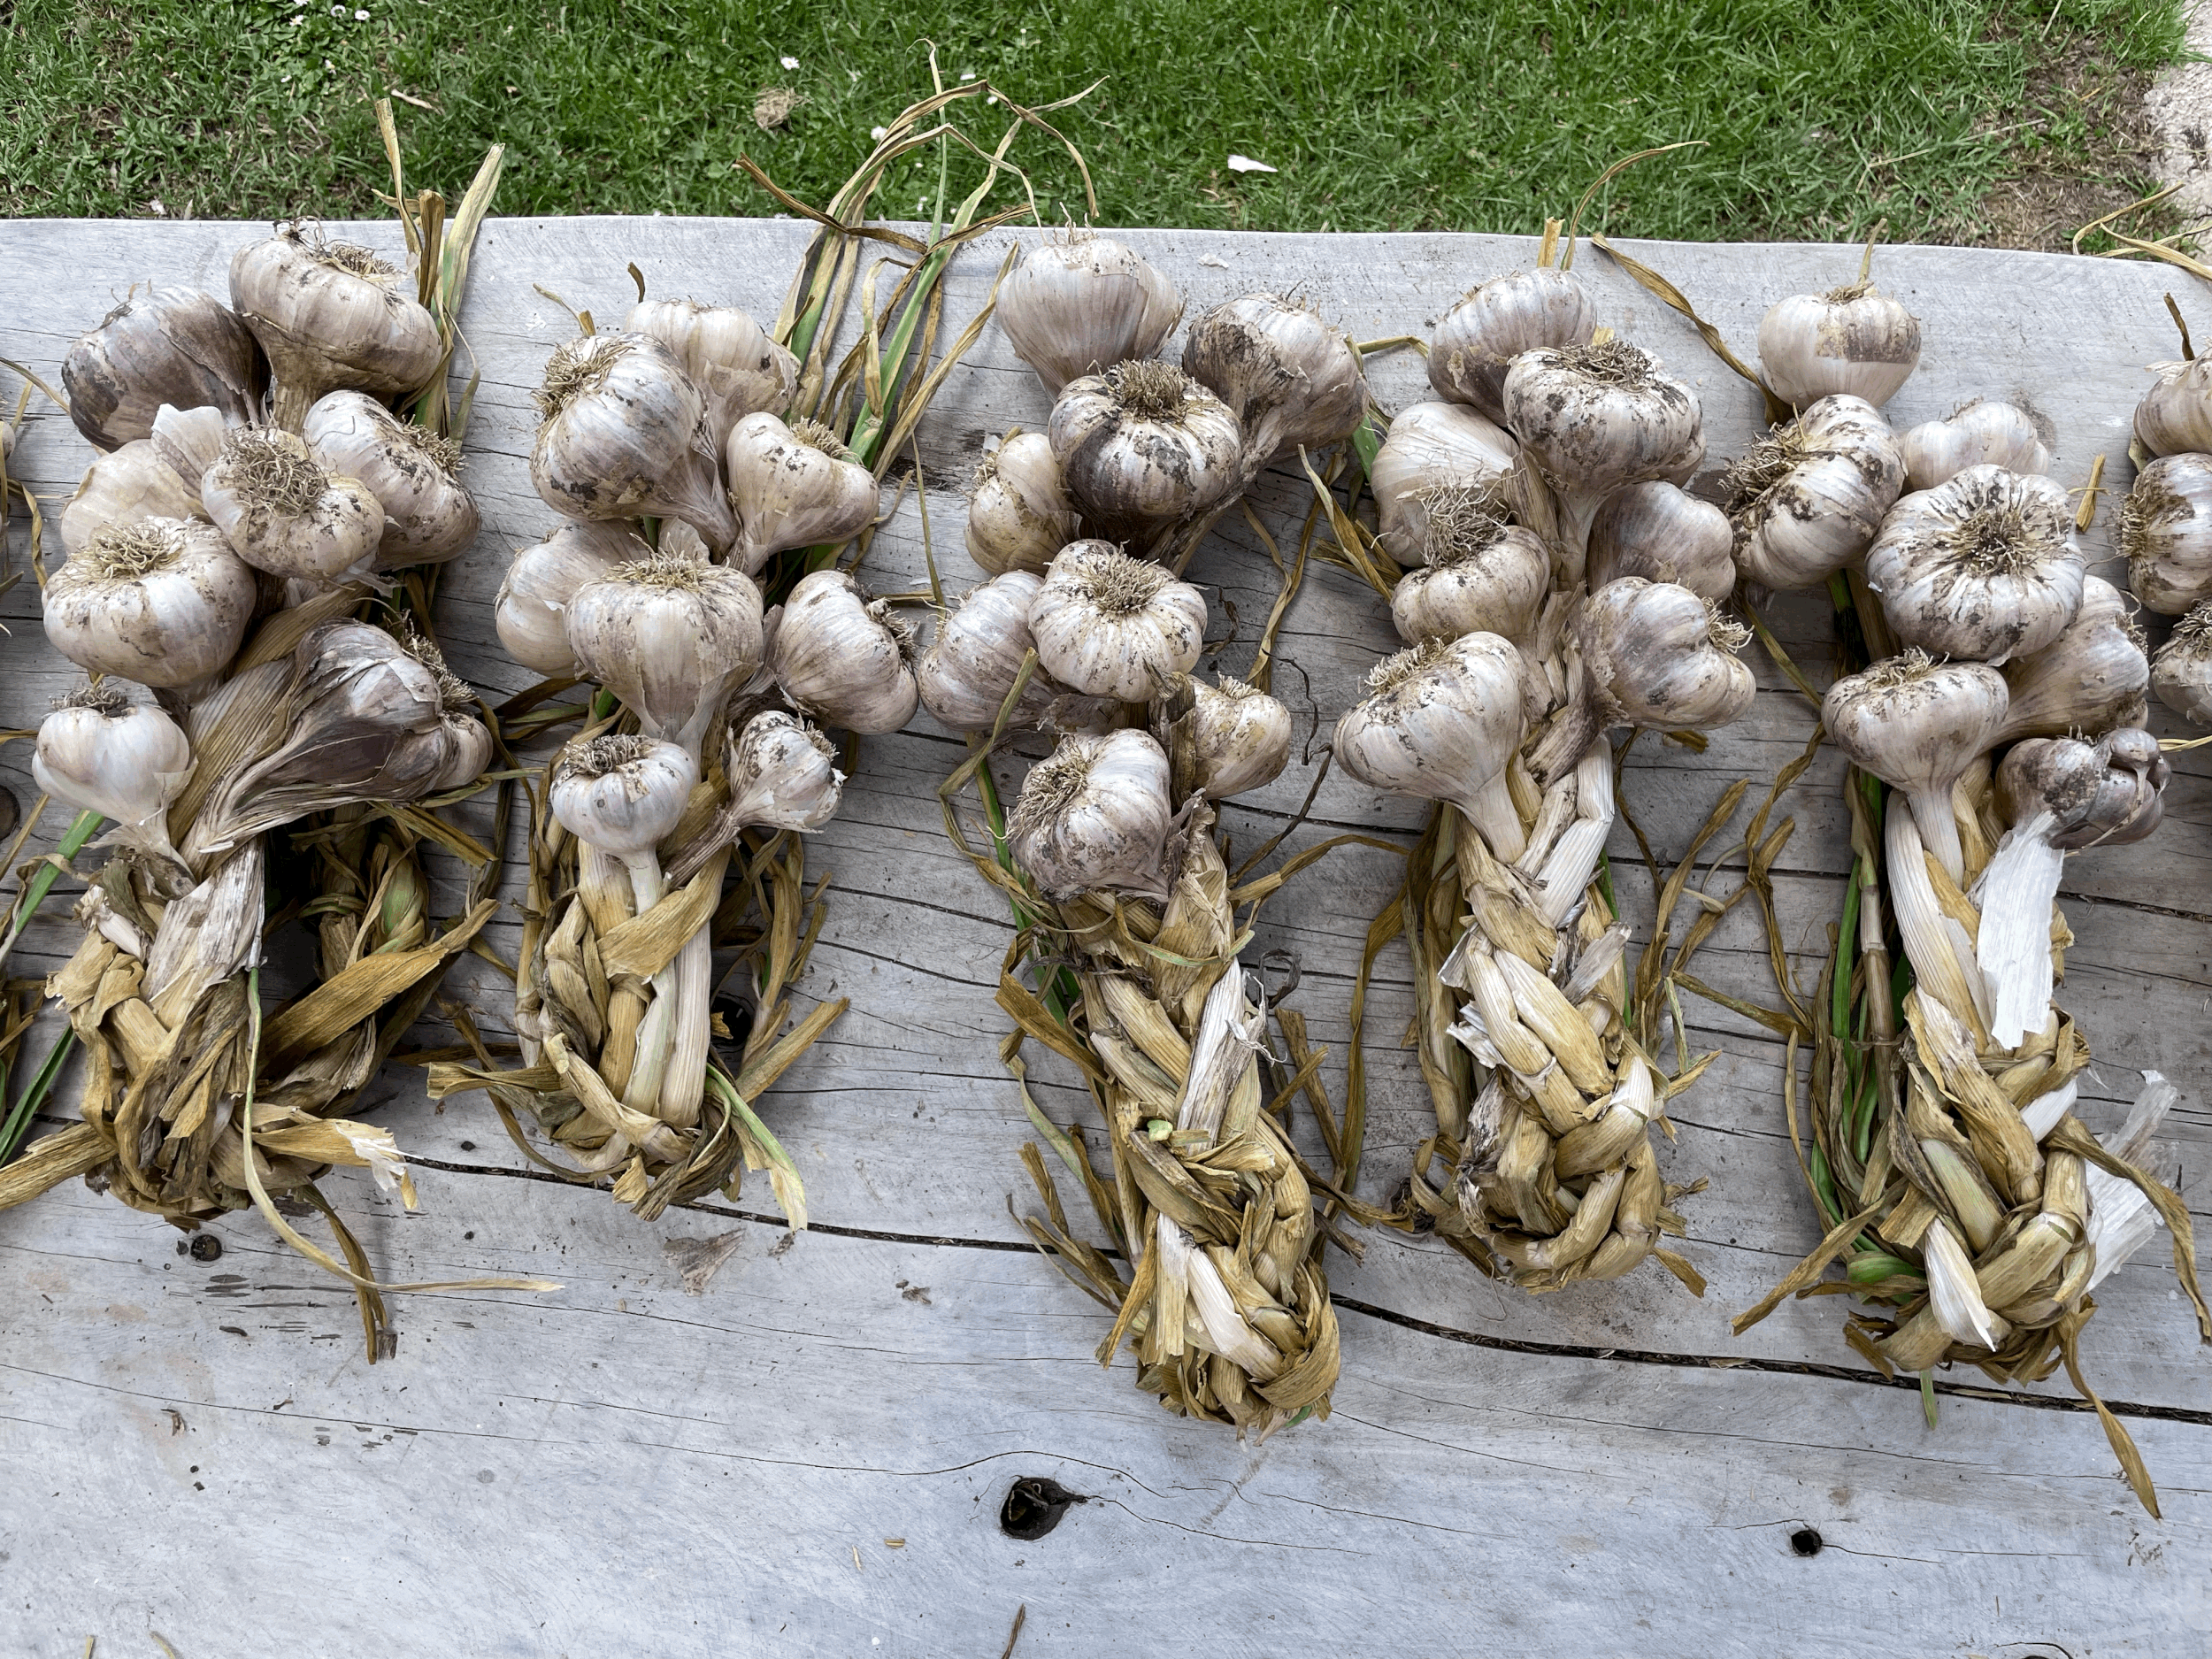
Seed Saving in your Autumn vegetable garden.
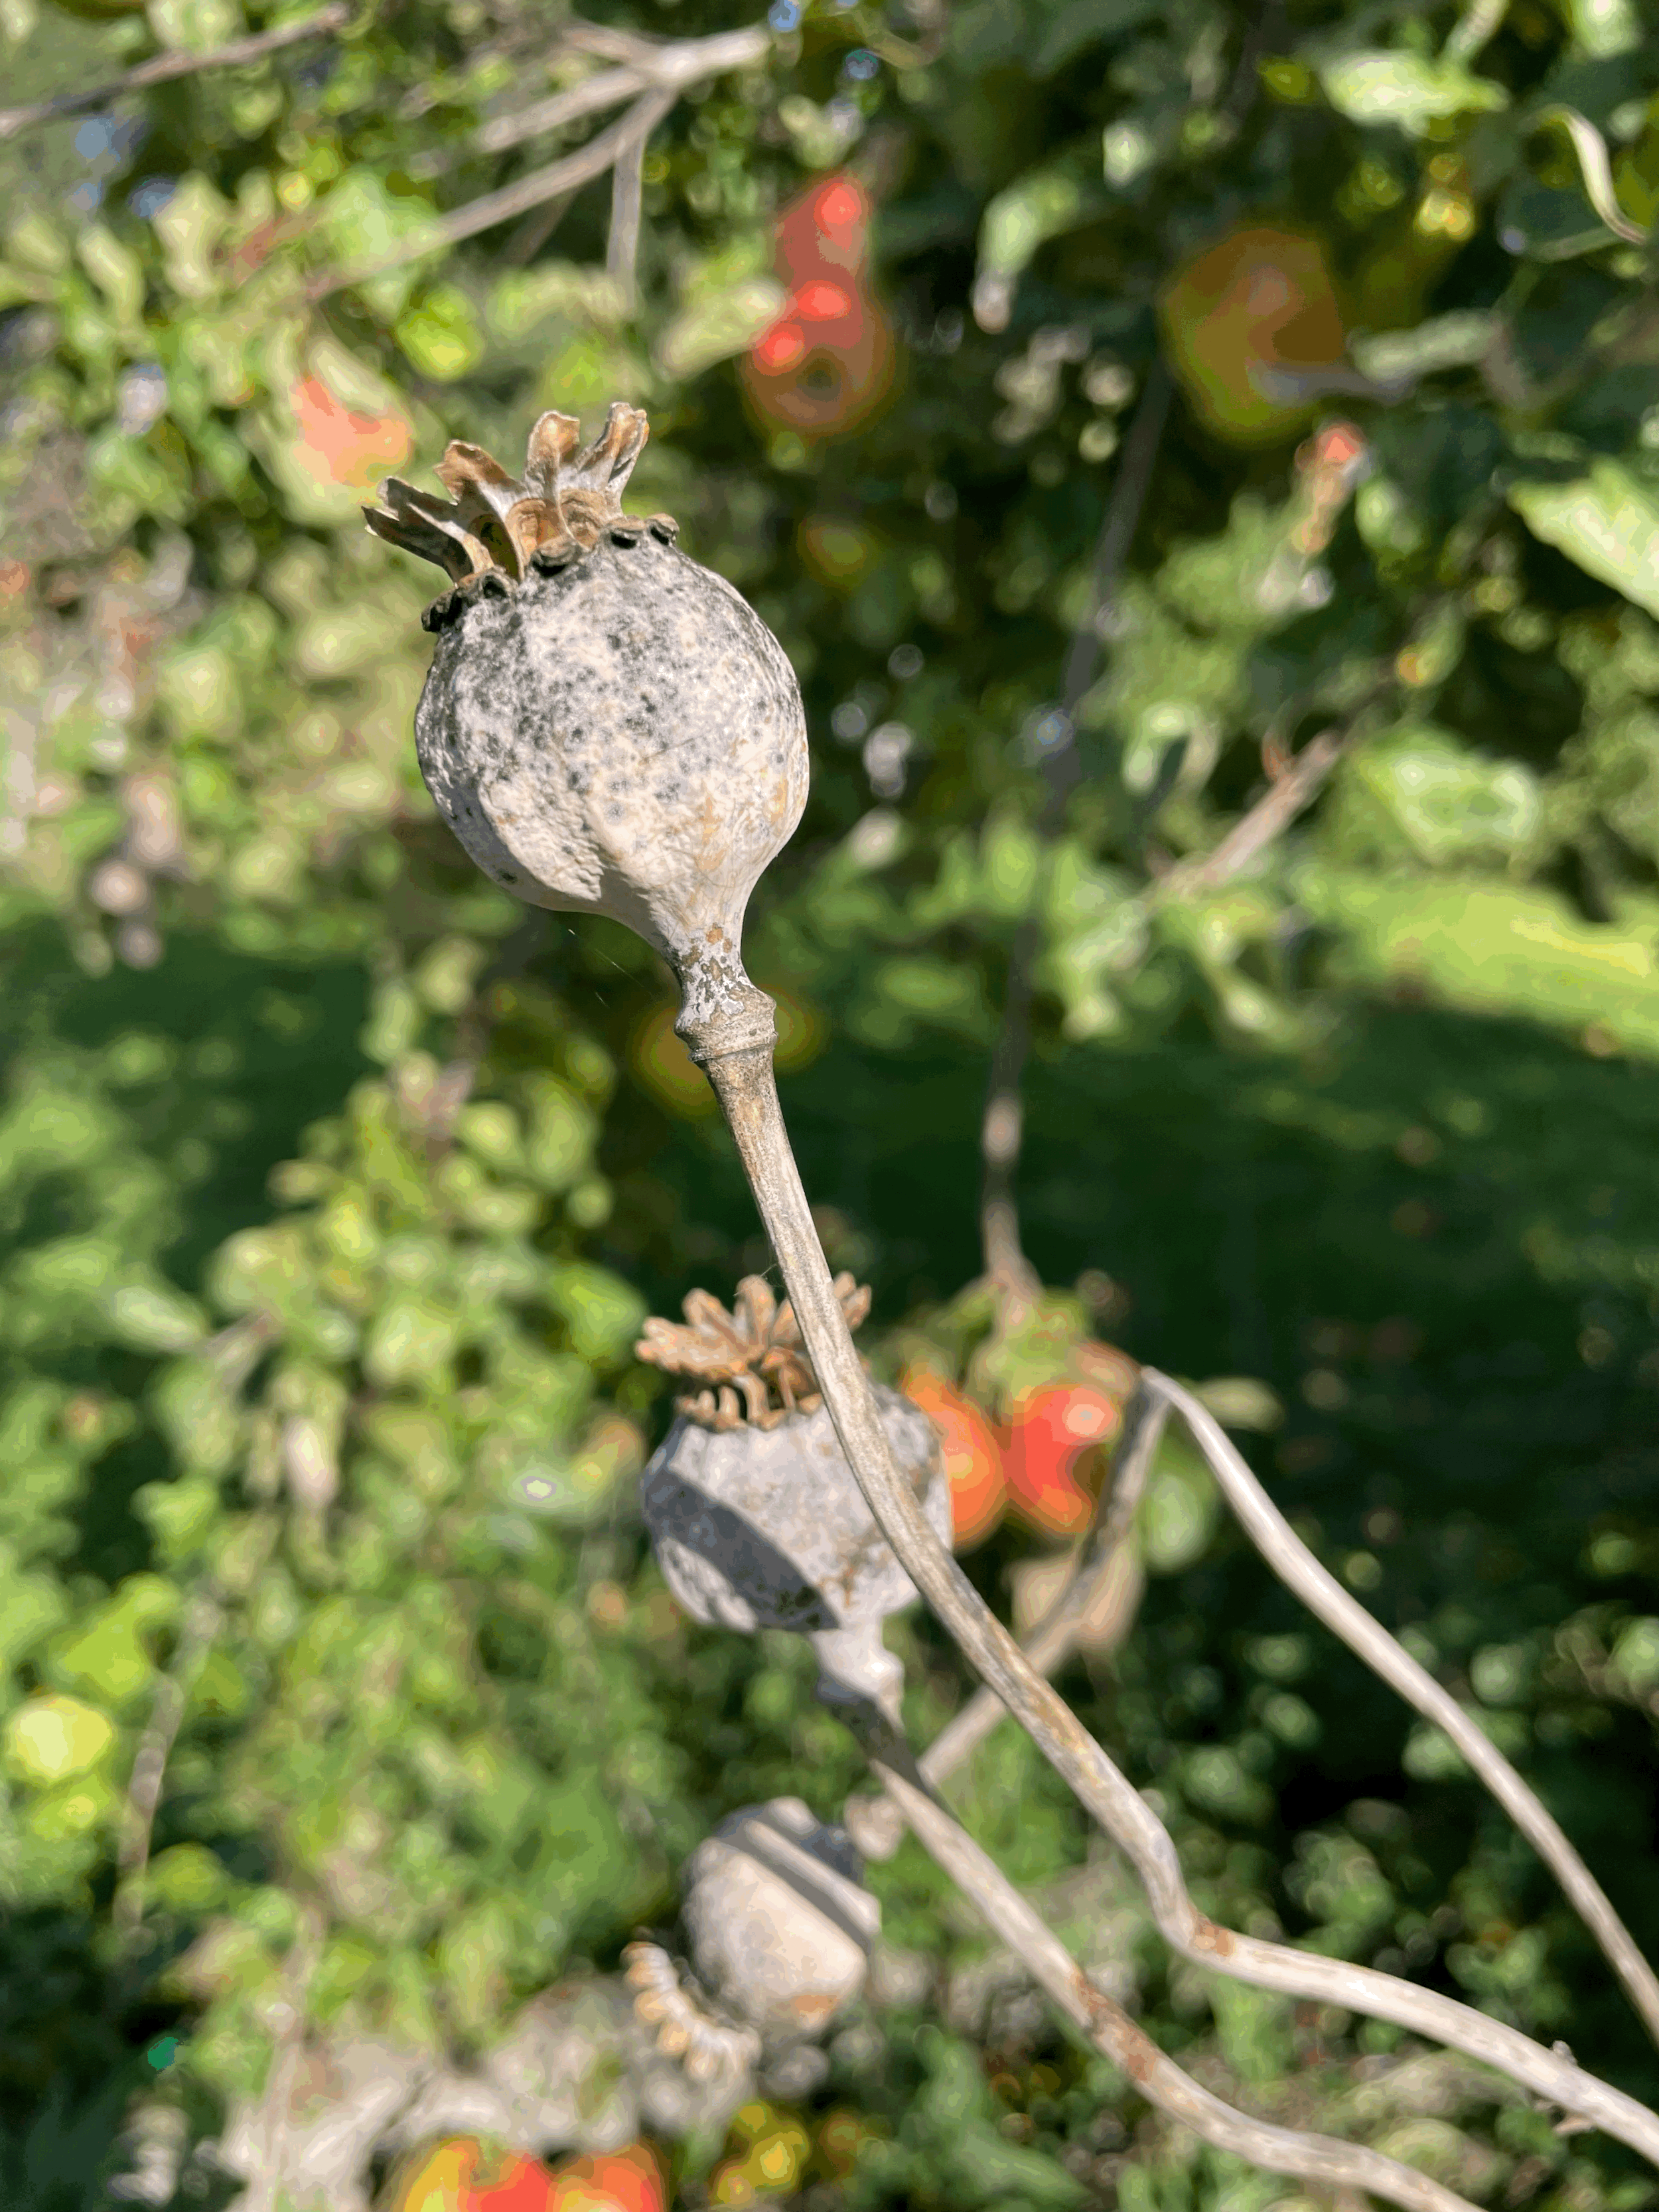
As the nights draw in and the air turns a little cooler, the natural cycle of the plants in our garden begins to come to an end. In their short lives, plants have one primary goal—to reproduce. The seed cycle is the final and most important part of that process. They quite literally “go to seed.”
Each plant has its own way of scattering seed. Once that job is done, the plant dies back, returning to the soil or compost and contributing its goodness to the earth—ready for the cycle to begin again in spring.

Rhubarb Crostata
This is my new favourite go-to recipe now for rhubarb and I can’t wait to try it with summer fruits such as peach or nectarine or berries! A crostata is an Italian version of the french galette – a freeform pastry dough turned over at the edge to hold perfectly cooked fruit. It is very quick and easy and looks fabulous. The crust is buttery and crunchy and stays firm enough to eat a wedge with your hands so a great picnic option. No plate needed!
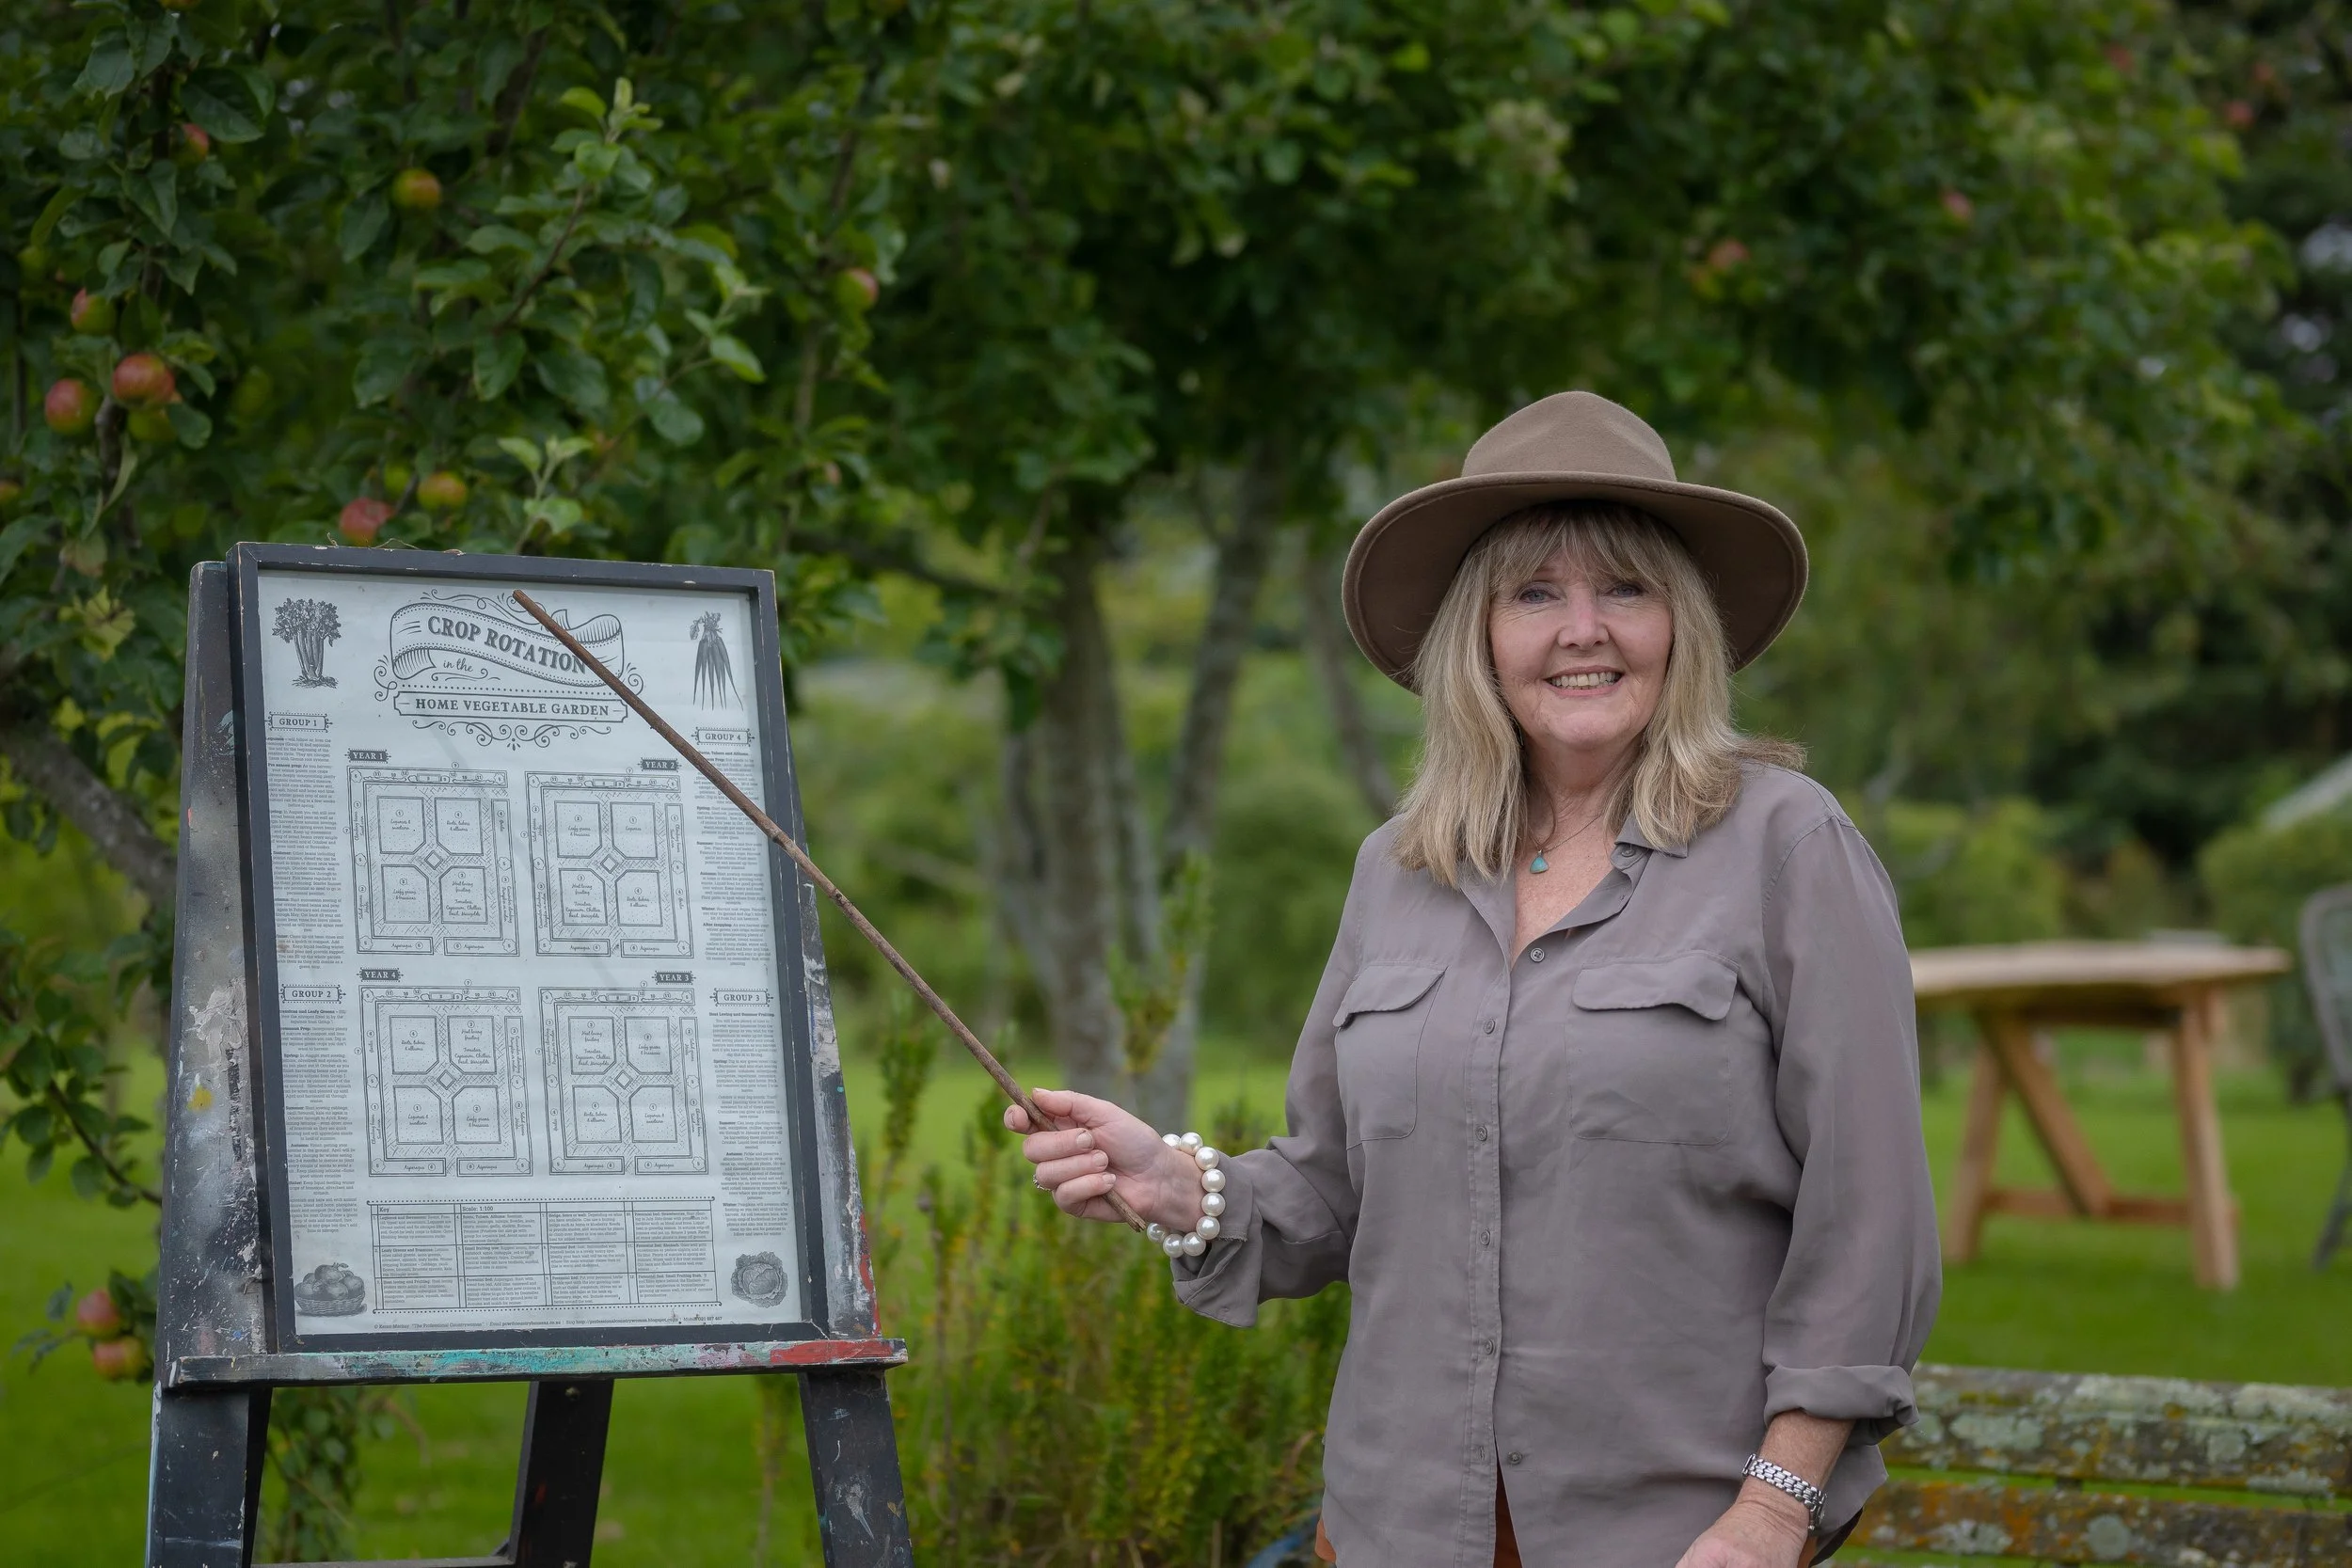
Vegetable Gardening Made Simple
It seems that with current events going on in the world today we would be wise to resource ourselves up again. Growing food for yourself, your family and your community is always important but even more so right now. If you don’t even know where to begin then you might like to start with the poster plan I have created to simplify vegetable gardening. It is called the Crop Rotation in the Family Vegetable Garden, and it goes through what you can sow, plant, harvest, cultivate or prepare month by month. It’s a pretty vintage style poster that also looks great framed up on the wall.
Early Autumn: March in the Kitchen Garden
Like many parts of the South Pacific, we have been affected by the La Nina weather pattern bringing grey skies and a cool summer. I saw my neighbour the other day and we were joking about how much we’d enjoyed summer last Wednesday. There will still be warm days ahead and March is a lovely month as we head towards the start of what I think might be an early autumn. It is the autumn equinox this month around the 21st March so that’s when true autumn begins.
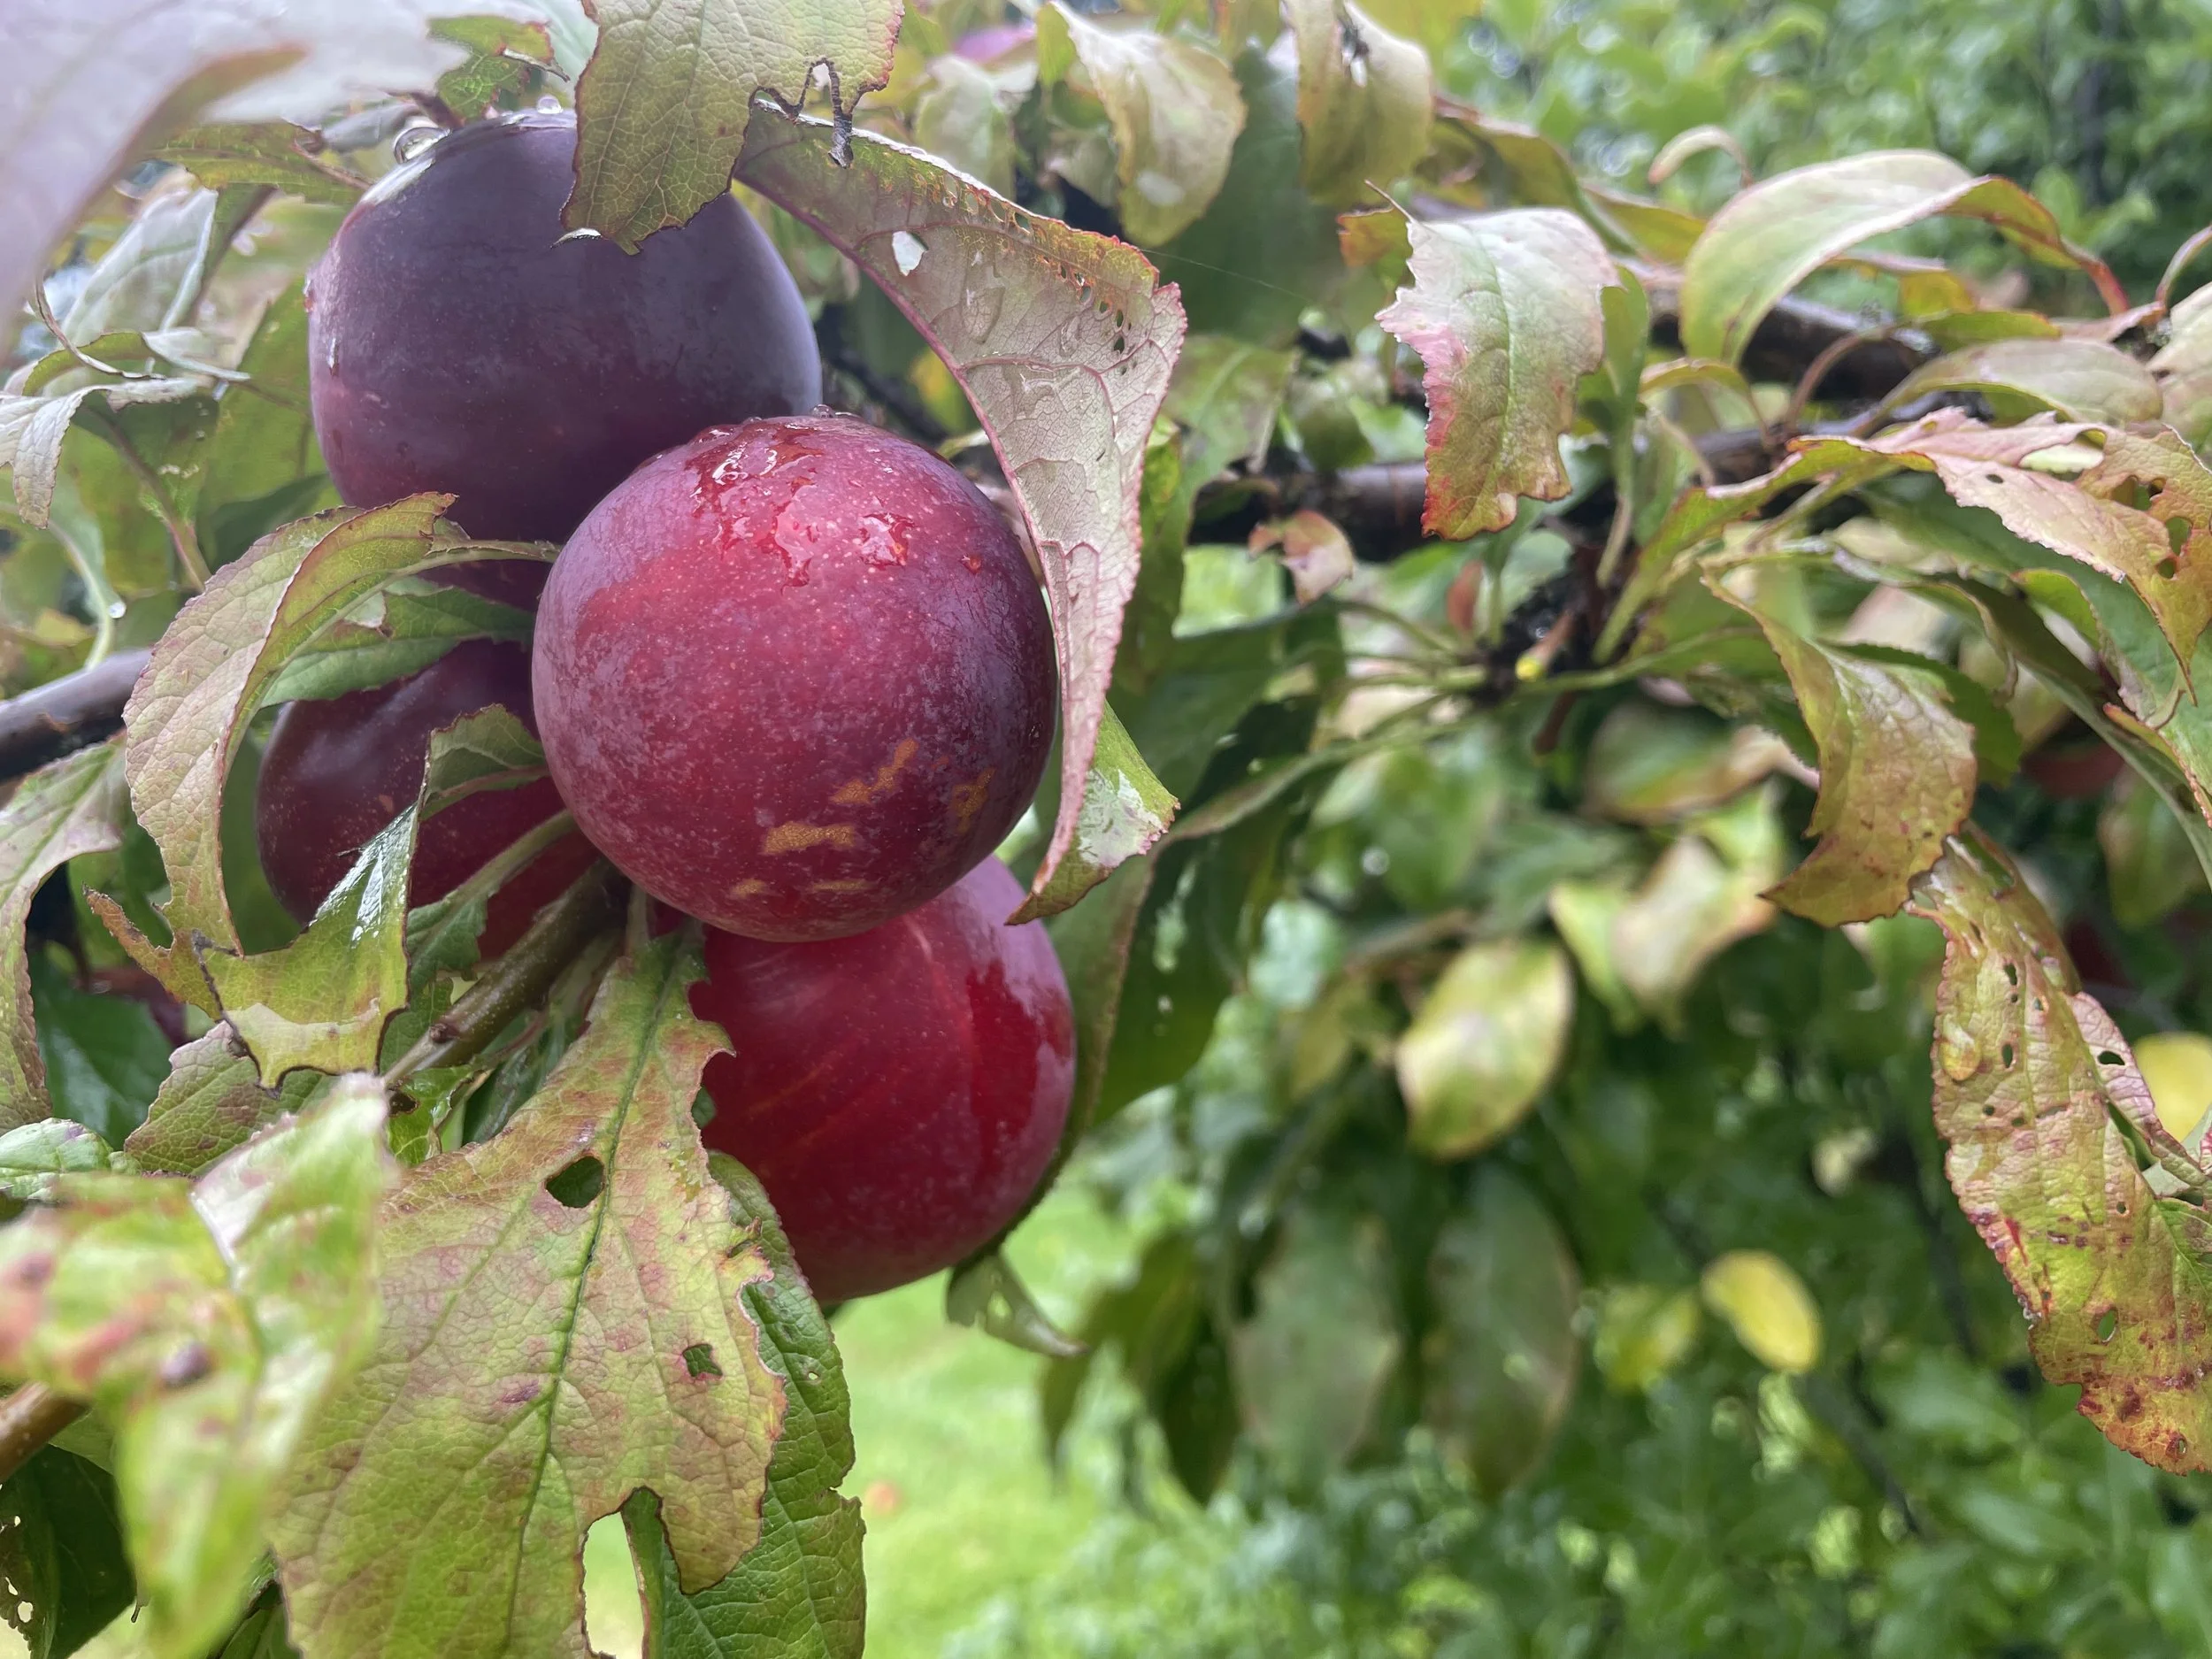
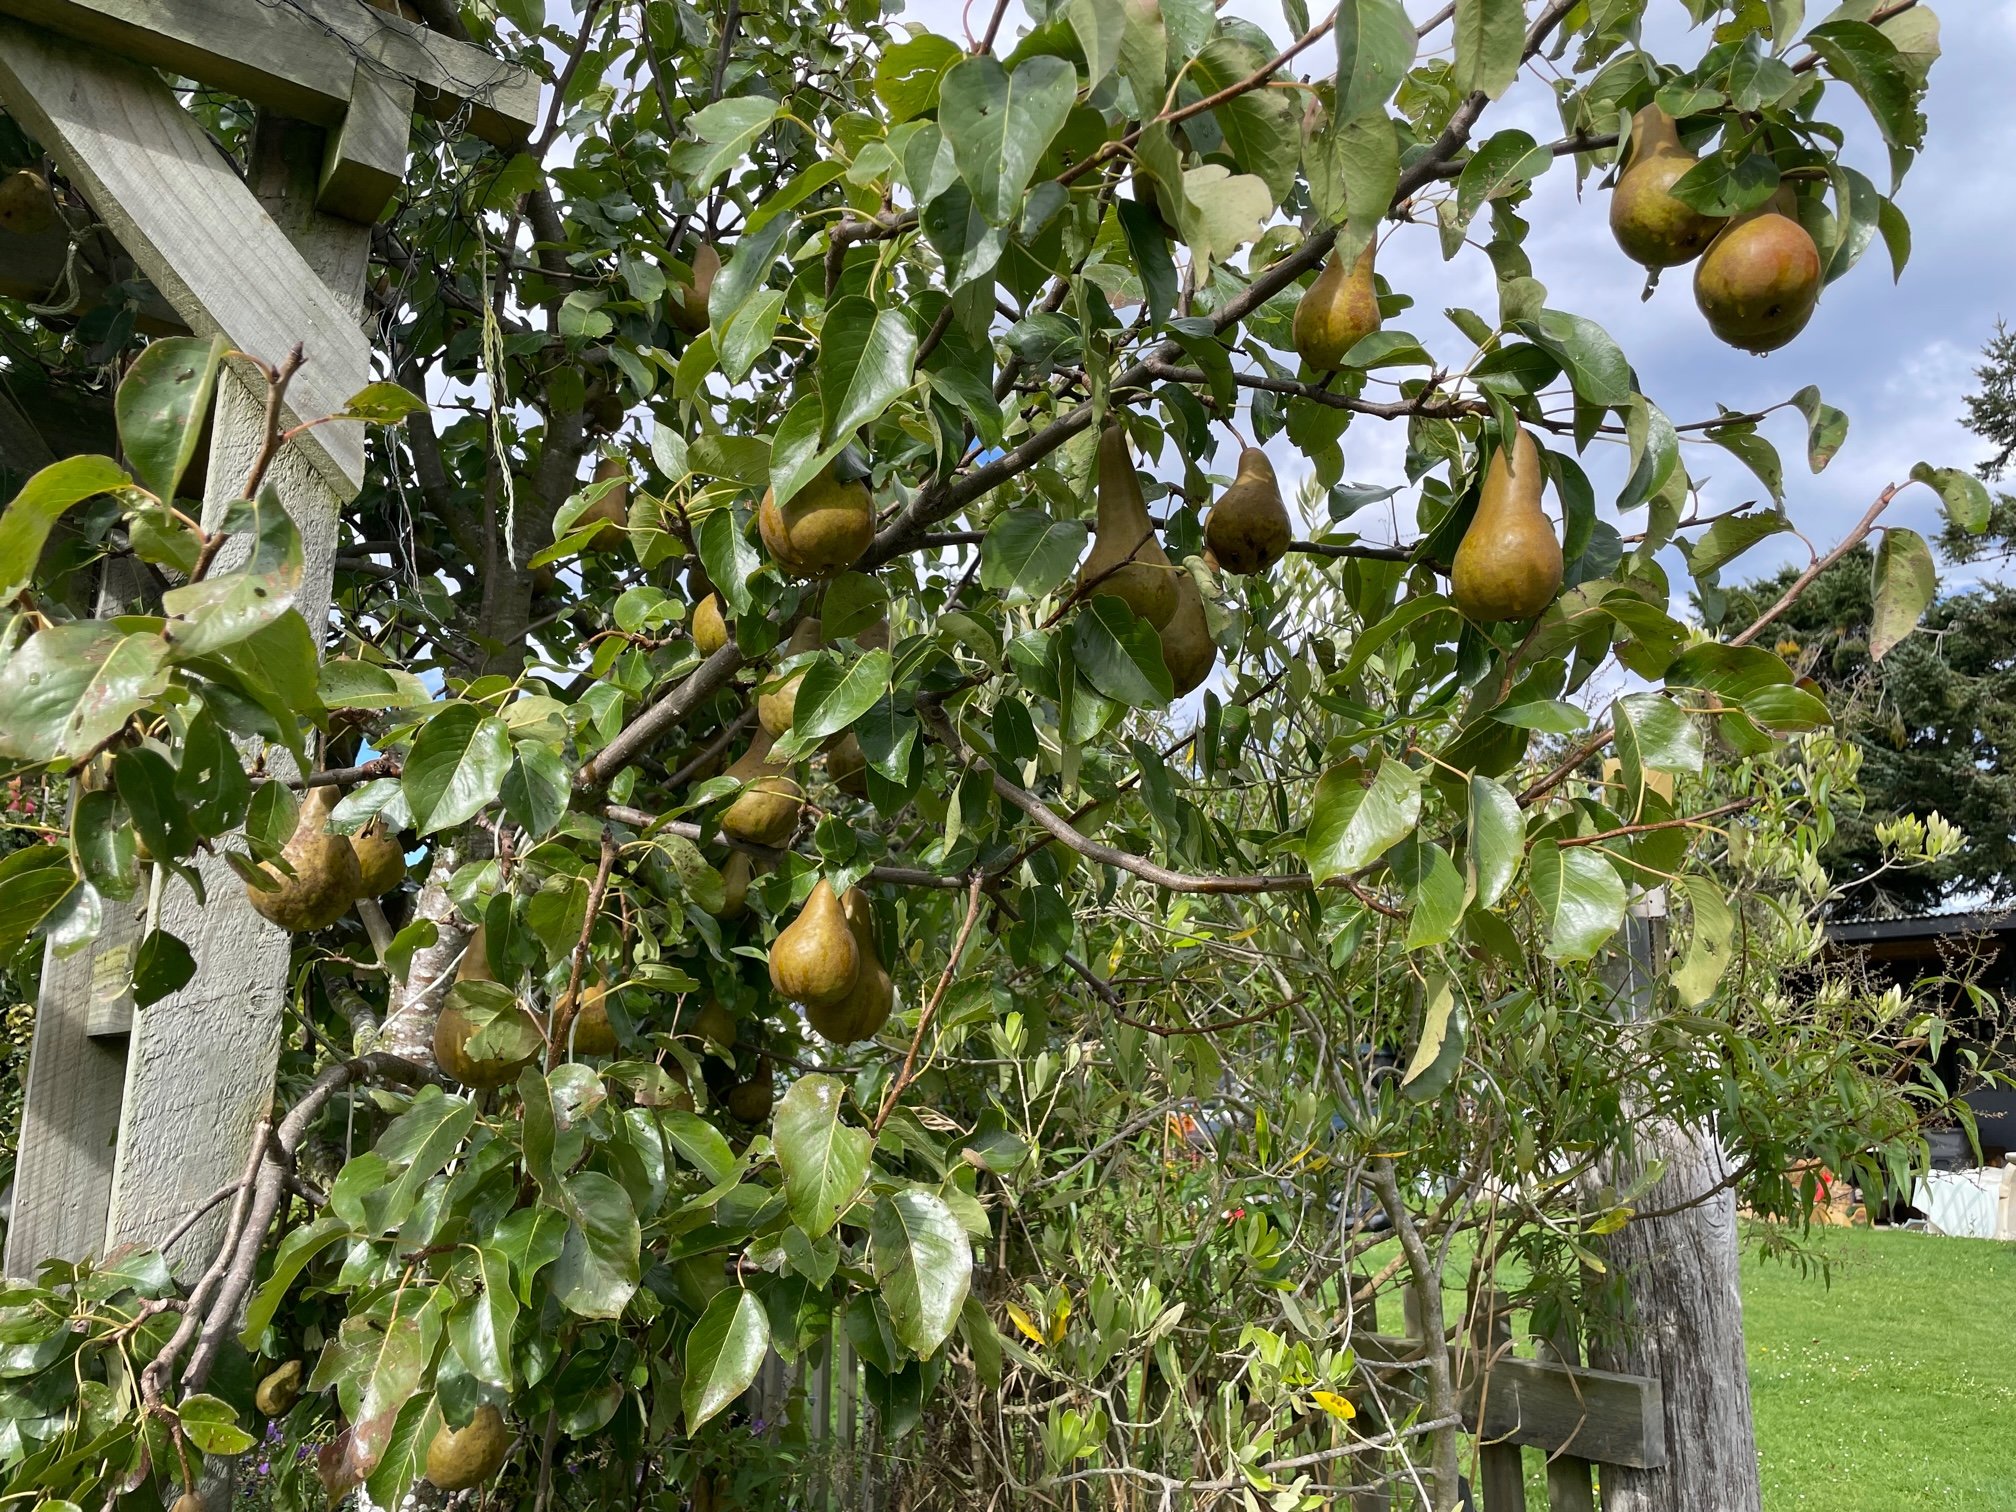
A plummy time of year: Preserving our produce.
I used to think you could never have too many plums but now that some of the trees we planted 10 years ago are maturing, I’m not so sure! My reasoning was that you could make a lot of preserves with them, plum jam and plum sauce being the two main ones. Or you could eat them fresh, stewed, with breakfast etc. Yes you can do all that and thank goodness for the freezer, because if you’re not ready to make jam just now, then pop them straight into the freezer and use them when you need to later on in the winter